How to Install worlds on Apple Mac (Java Edition)
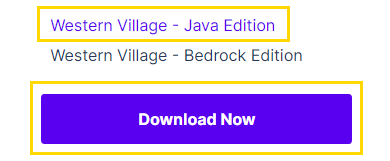
1. Download the “Java Edition” world file from your purchase confirmation email or your downloads in your dashboard or from your purchase receipt. If you’re an All Access Pass member just navigate to the world you want to download, select the text that includes “Java Edition” then click download.
The downloads displayed below are only examples, download the world file you want to install!
All Access Members
Locate the file above the world you want to download then click download.
One-time buyers
- Purchase confirmation email
- In your dashboard under “Download History”
- On your receipt received after purchase

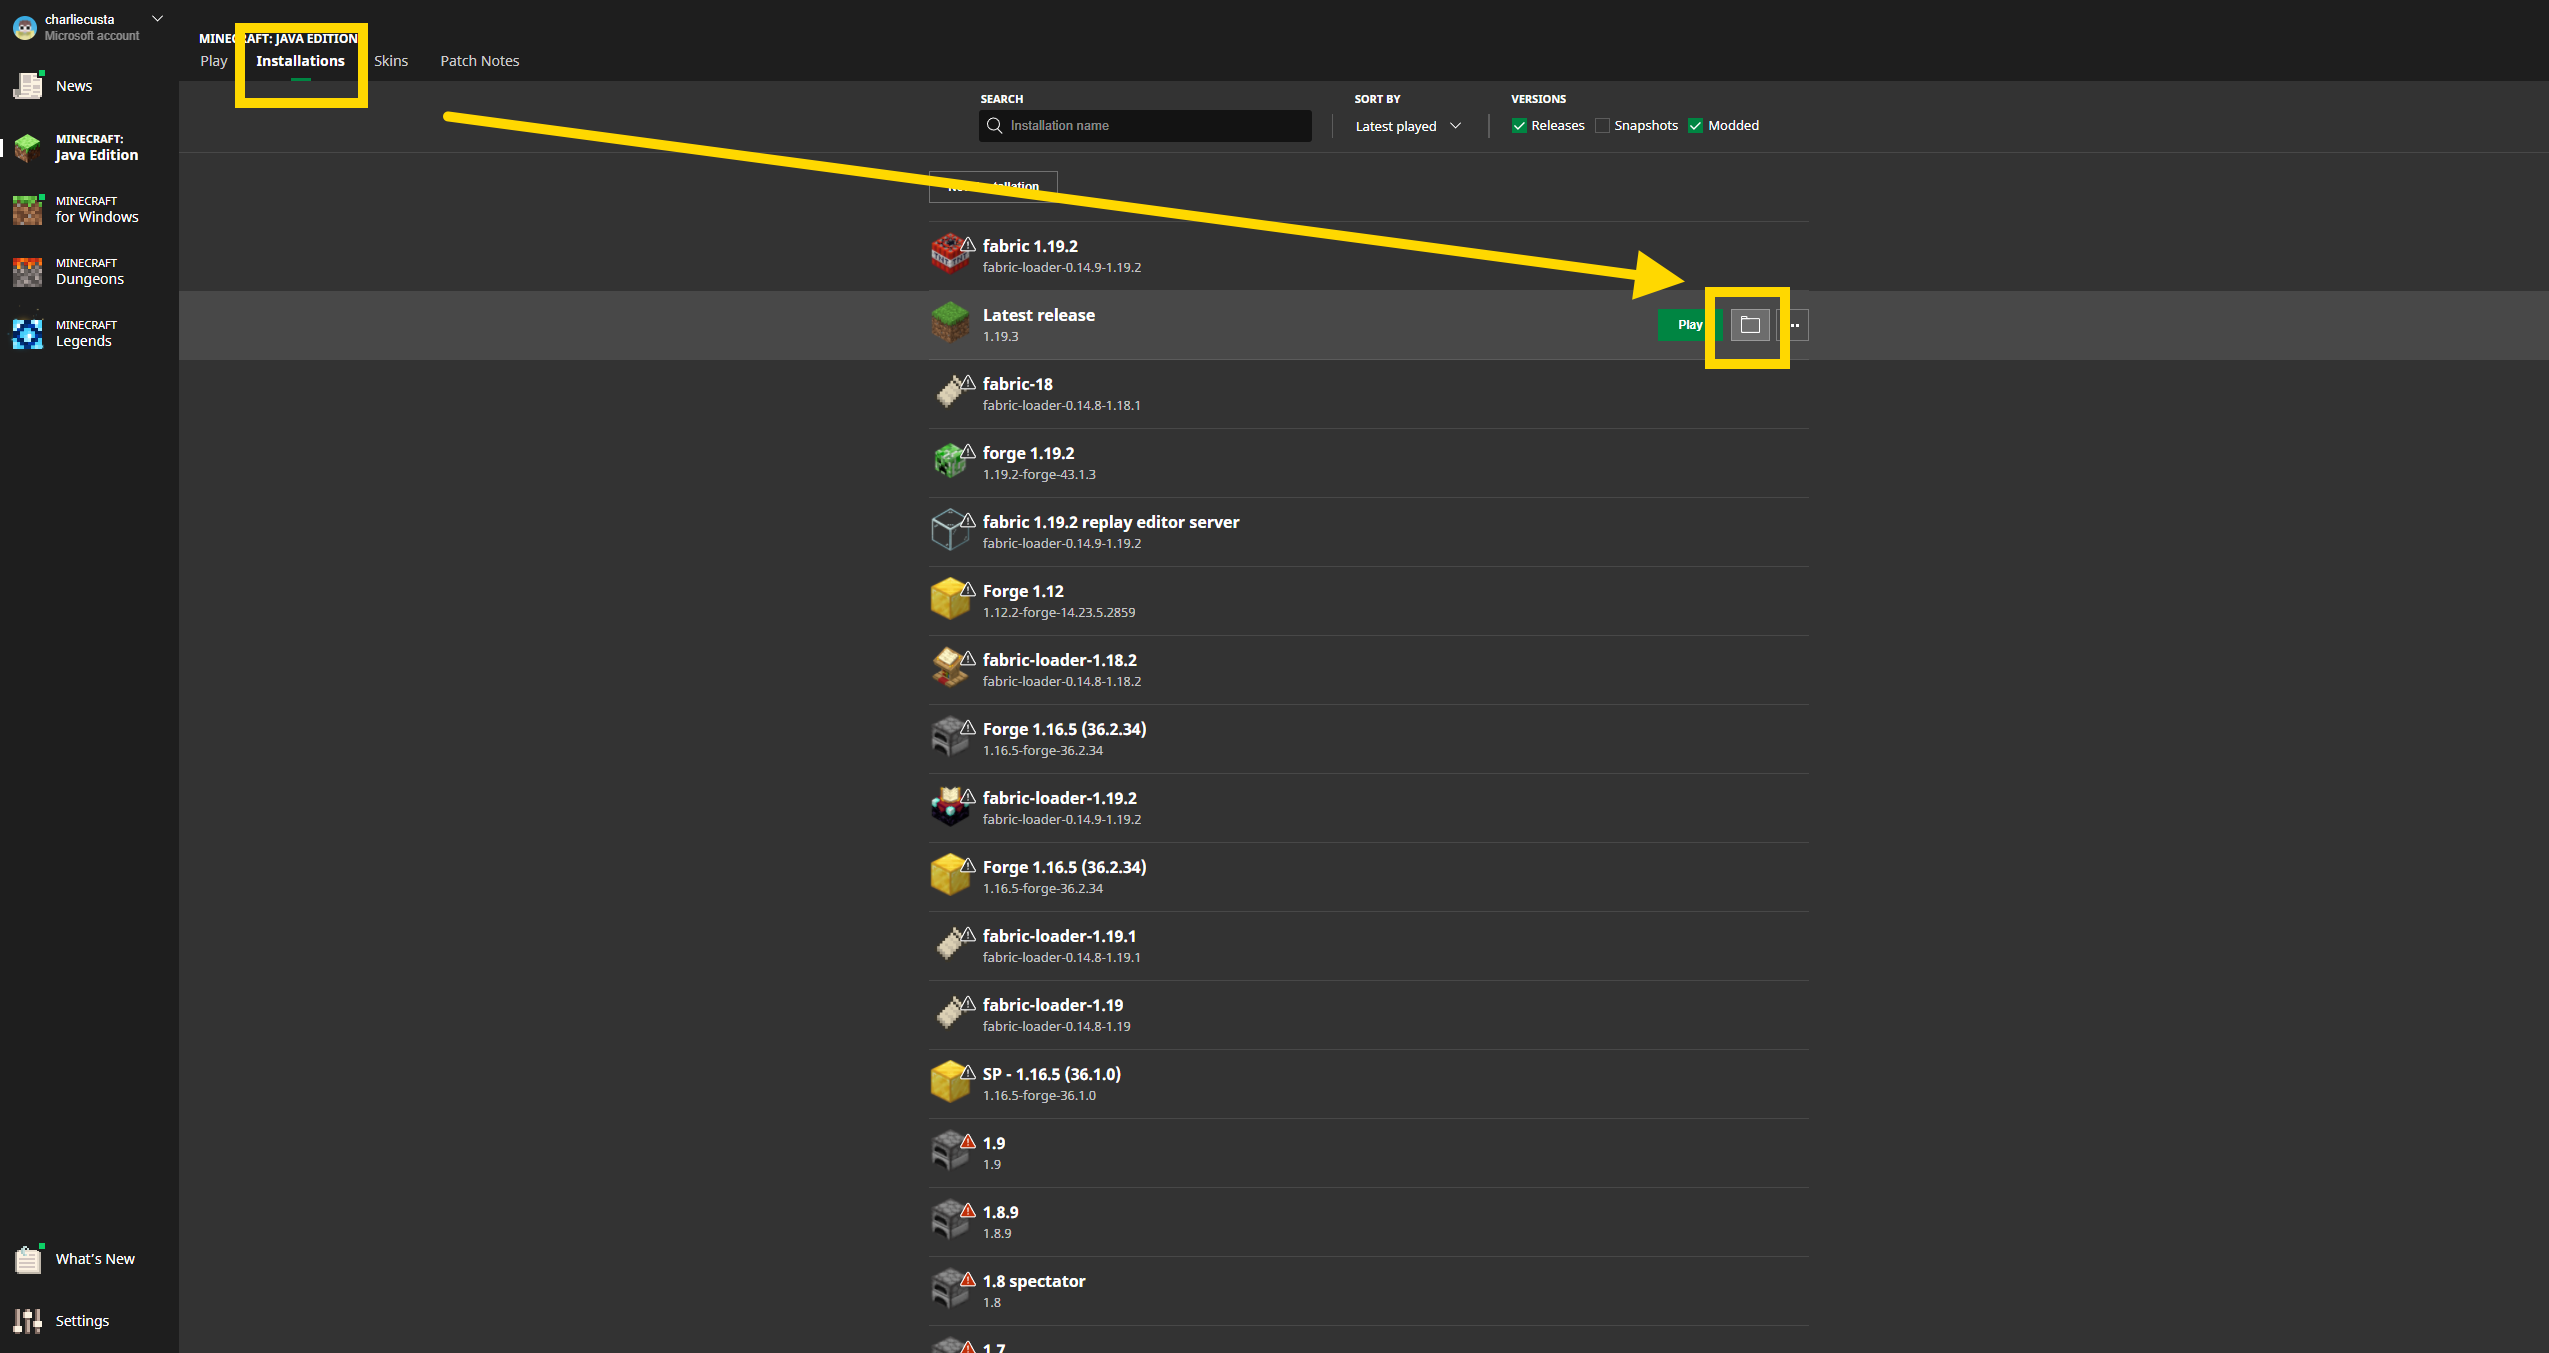
2. Locate your Minecraft saves folder. You can do this inside your Minecraft launcher. Go to “Installations” and click the folder icon on the installation you want to install the world to. Inside the folder that opens, locate and open the “saves” folder.
3. Locate the downloaded world in your downloads and open it. The world file is inside a zip folder for Java Edition worlds. Mac OS opens .zip files without any additional applications. All you need to do is double click the .zip folder to unzip it. You will now see the world folder.
4. Transfer the world folder to your “saves” directory:
- First, locate the downloaded .zip file and open it.
- Inside, you’ll find the world folder.
- Drag this folder and drop it into your “saves” directory.
Note: If you’re having difficulty identifying the .zip file due to disabled file extensions, consider enabling the view of these extensions for ease. Here’s a tutorial on how to do that.
5. Start Minecraft and the world will appear in your list of worlds.
Explained in a video
Watch these
Want to test this out before purchasing?
Try installing the demo world
Categories: Installing Worlds